Mastering the Christmas 3D Shadow Box Layered Papercut for Professional Decor and Craft Workflows
The intersection of digital design precision and tactile craftsmanship creates a unique opportunity for creators, small business owners, and hobbyists alike. At the center of this creative convergence is the Christmas 3D Shadow Box Layered Papercut. This is not merely a seasonal decoration; it is a versatile asset that bridges the gap between digital file management and physical product creation. For professionals who value efficiency and quality, understanding how to integrate this layered design into your existing workflow can transform a simple holiday project into a scalable component of your creative portfolio or home aesthetic.
Whether you are a marketer looking for unique visual content, an educator planning engaging classroom activities, or an entrepreneur selling handmade goods, the utility of this design extends far beyond the holiday season. By leveraging the included file formats and understanding the structural requirements of shadow box construction, you can streamline your production process and achieve consistent, high-quality results.
Understanding the Asset and Its Versatility
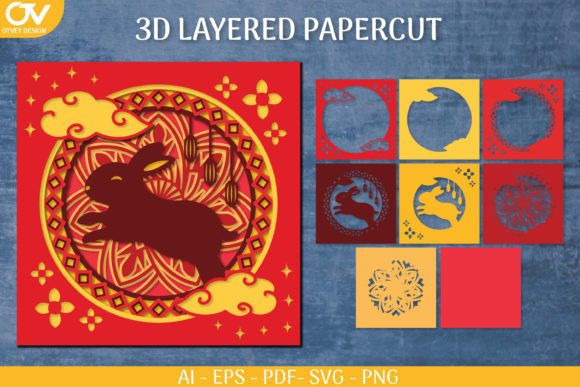
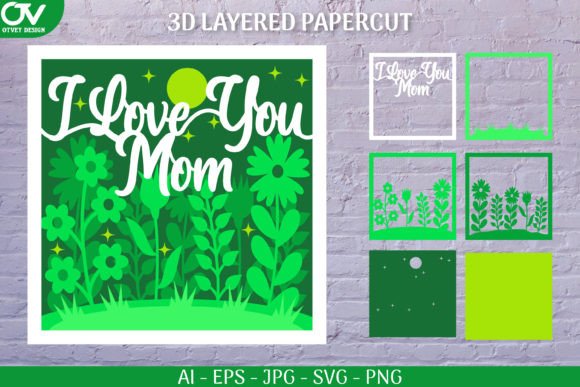
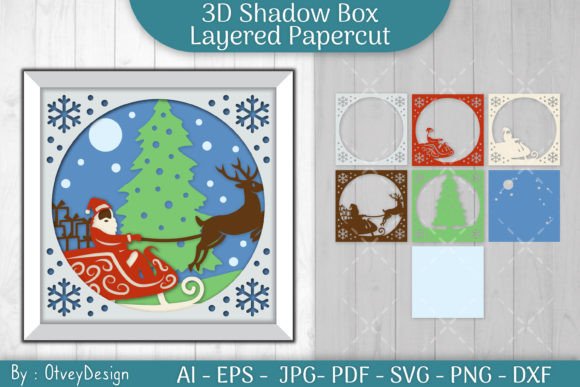
A Christmas 3D Shadow Box Layered Papercut is a multi-layered design where each layer represents a different depth plane. When stacked with spacers, these layers create a three-dimensional illusion that adds significant visual interest compared to flat paper crafts. The primary advantage of purchasing a pre-designed asset like this is the elimination of the time-consuming design phase. Instead of spending hours vectorizing images or calculating layer depths, you gain immediate access to a professionally balanced composition.
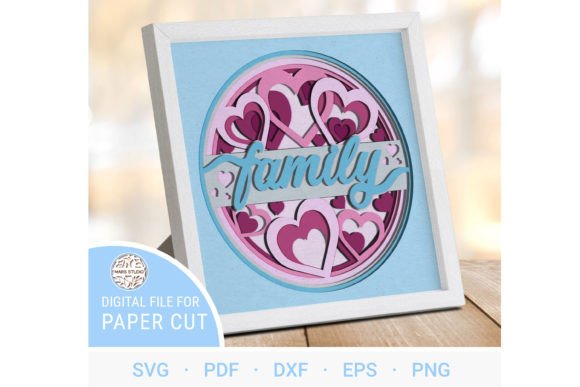
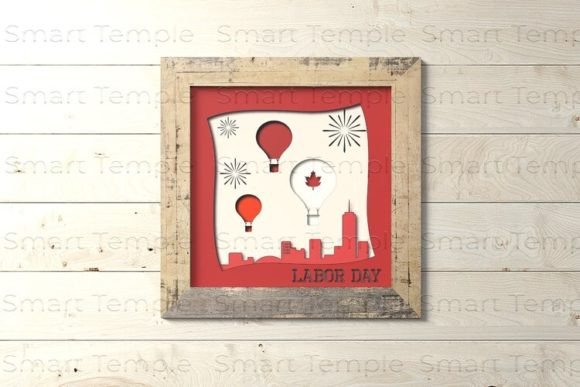
This design serves multiple purposes, functioning effectively as both a standalone wall decoration and an illuminated light box. The duality of its application means that one purchase yields two distinct product lines or decorative options. For small business owners, this versatility allows for diversified inventory without additional design costs. For homeowners, it offers the flexibility to change the ambiance of a room by simply adding or removing lighting elements.
File Compatibility and Workflow Integration
Successful implementation begins with file management. The downloaded ZIP file for this Christmas 3D Shadow Box Layered Papercut includes a comprehensive suite of formats: AI, EPS, PDF, JPEG, PNG, SVG, and DXF. This breadth of compatibility ensures that the asset fits seamlessly into various software ecosystems, regardless of your preferred tools.
- SVG and DXF Files: These are essential for users operating cutting machines such as Cricut or Silhouette. They allow for precise path recognition, ensuring clean cuts without manual tracing.
- AI and EPS Files: Ideal for professional graphic designers using Adobe Illustrator. These vector formats allow for infinite scalability and easy modification of individual layers if customization is required.
- PDF and JPEG/PNG Files: Useful for quick previews, printing references, or digital mockups for marketing materials before physical production begins.
Integrating these files into your workflow requires organization. Create a dedicated folder for your holiday projects and store the unzipped assets alongside your material inventory lists. If you are using cutting software, import the SVG file directly to maintain layer integrity. This step prevents the common issue of merged paths, which can ruin the layered effect during the cutting process.
Production Methods: From Digital to Physical
Once the files are prepared, the execution phase begins. You have two primary methods for creating the physical layers: machine cutting and manual cutting. Each method has distinct implications for time, cost, and final quality.
Machine Cutting with Cricut or Similar Devices
For those prioritizing efficiency and repeatability, using a cutting machine is the optimal choice. The SVG cut file provided in the ZIP is optimized for these devices. Load your chosen cardstock into the machine, ensuring the grain direction aligns with the design’s structural needs. Use the "Cut" setting appropriate for your material weight. Machine cutting ensures that intricate details, such as snowflakes or fine architectural lines in the Christmas scene, are rendered with precision. This method is particularly valuable for entrepreneurs producing multiple units, as it significantly reduces labor time per unit.
Manual Cutting with Art Knives
If you do not have access to a cutting machine, or if you prefer the meditative aspect of handcrafting, an art knife is a viable alternative. Print the PDF or JPEG template onto your cardstock. Use a sharp blade and a self-healing cutting mat to trace the lines. While this method is more time-intensive, it offers complete control over pressure and angle, which can be beneficial for textured papers that might jam in machines. This approach suits hobbyists or educators teaching fine motor skills and patience.
Enhancing Depth and Lighting Effects
The defining feature of a shadow box is its depth. To achieve the intended 3D effect, you must use spacers between each layer. Foam tape is the most common material for this purpose, as it provides consistent height and strong adhesion. Stack the layers from back to front, ensuring alignment marks are matched precisely. Misalignment at this stage can distort the perspective and diminish the visual impact.
To transform the decoration into a light box, integrate LED strips into the design. This step adds a dynamic element, making the piece suitable for evening display or low-light environments. Choose warm white LEDs for a cozy, traditional Christmas feel, or RGB strips if you wish to create color-changing effects for parties or modern decor themes. Place the LED strip along the inner frame or behind the backmost layer to ensure even illumination without hotspots. This modification turns a static image into an interactive light source, increasing its perceived value and utility.
Quality Control and Long-Term Use
Maintaining consistency is crucial, especially if you are producing these for sale or as part of a larger decorative scheme. Inspect each cut layer for frayed edges or incomplete cuts before assembly. Clean any adhesive residue from the foam tape to ensure a pristine finish. For long-term use, consider sealing the paper with a matte spray to protect against dust and humidity, which can cause warping over time.
Storage is another critical factor. Disassemble the layers if space is limited, keeping them flat in acid-free sleeves to prevent creasing. Label each layer clearly to simplify reassembly in future seasons. This organizational habit extends the lifespan of your craft and ensures that next year’s setup is as efficient as the first.
Strategic Applications for Professionals and Creators
Beyond personal enjoyment, the Christmas 3D Shadow Box Layered Papercut offers strategic value for various professional contexts. Marketers can use high-resolution renders of the assembled box for social media campaigns, showcasing product depth and lighting capabilities. Educators can utilize the layering concept to teach principles of perspective and spatial awareness in art classes. Small business owners can bundle the digital files with physical kits, offering customers the choice between DIY assembly and ready-made decor.
The ability to customize the lighting and framing also allows for brand alignment. Corporate gifts can feature company colors in the LED lighting, while retail displays can match store aesthetics. This adaptability makes the asset a flexible tool in your creative arsenal.
Final Thoughts on Implementation
Adopting the Christmas 3D Shadow Box Layered Papercut into your workflow is a decision that balances creativity with practicality. By leveraging the provided file formats, choosing the right cutting method, and carefully assembling the layers with attention to lighting and spacing, you create a high-impact visual piece. Whether you are enhancing your home environment or expanding your product offerings, this design provides a reliable foundation for quality outcomes.
Do not hesitate to invest in tools and assets that streamline your creative process. If you encounter challenges with file compatibility or assembly techniques, seek clarification from support resources or community forums. Clear communication and proper preparation are key to maximizing the value of your purchase. Embrace the process, experiment with lighting combinations, and enjoy the tangible results of your efforts.